ASP.Net web program with Razor
MVC structure »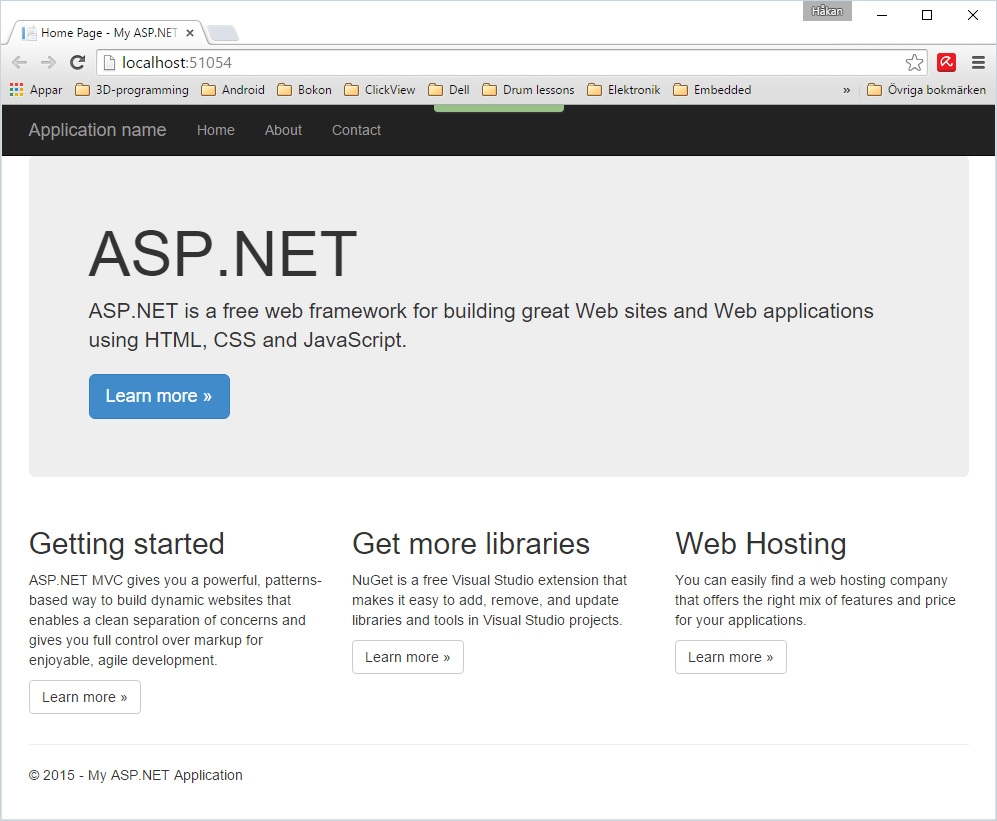
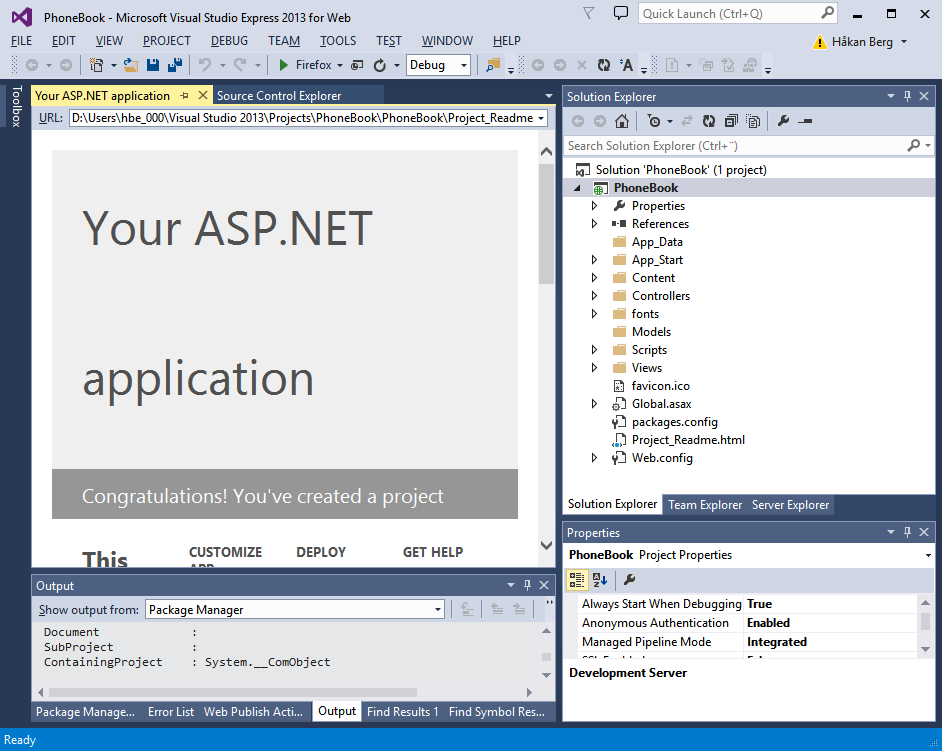
What you see above is an ASP.Net application generated fully automatically by Visual Studio. Just click and name stuff, and it is finished. In this lesson I will show you the few simple steps needed to create this program. The next lesson will explain the structure of the program, and you need to know that in order to make your own adaptions to it.
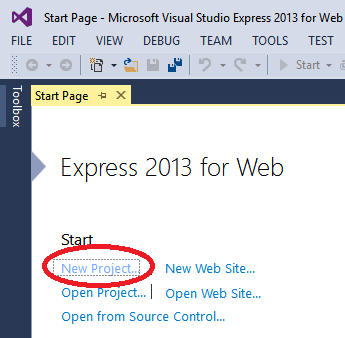
Start Visual Studio 2013 Express for Web, or whatever version you use. Like when we created our first console program, assuming you have already installed Visual Studio, we start by creating a new project:
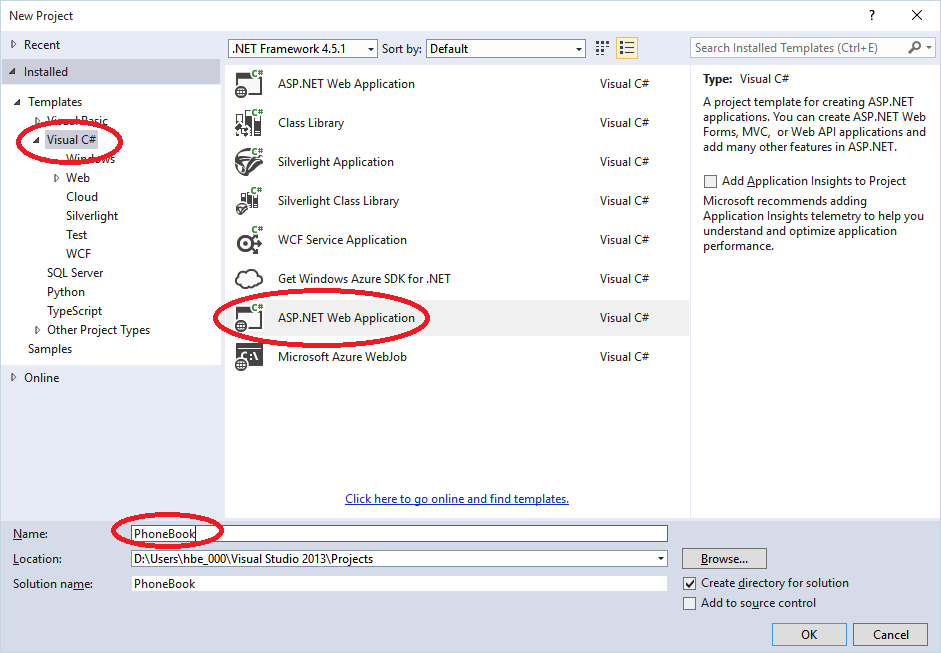
Among the installed templates, select Vidual C# and ASP.NET Web Application. We will do a simple address book application, so name it "PhoneBook". You may of course change the location, but the default is often well enough.
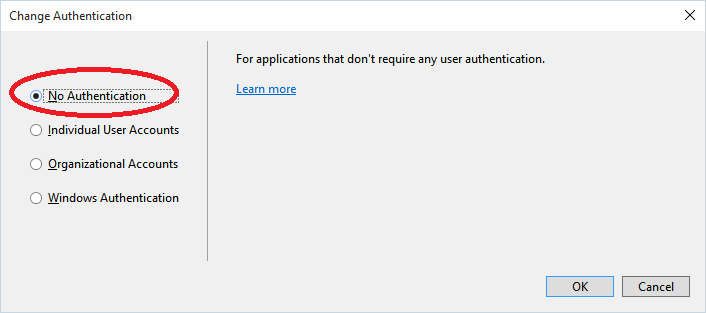
Klick OK, and verify that MVC is selected. We will not use any advanced user account stuff here, so let's click Change Authentication before we continue:
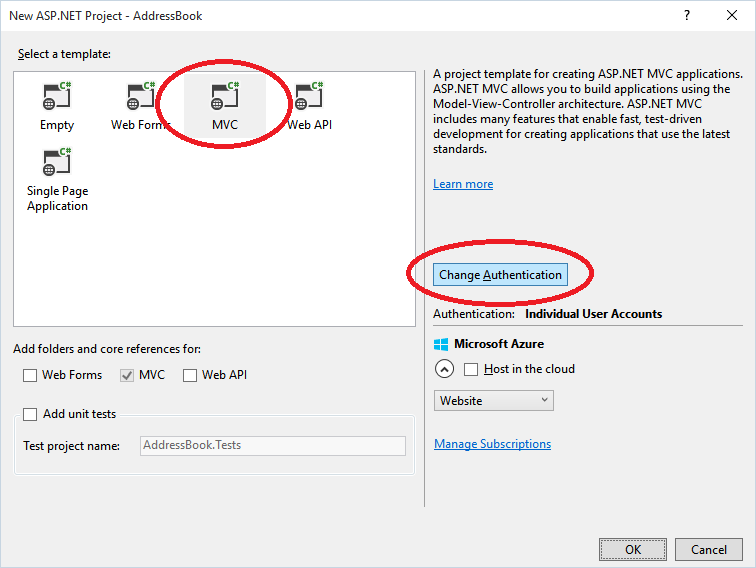
The Change Authentication offers a few options:
- No authentication. Anybody that knows the URL may check it out.
- Individual User Accounts. This is the kind where users register, gets an email confirmation and has the option to update profile, ask for new password when forgotten etc.
- Organizational Accounts. Uses user credentials stored in your companies Active Directory.
- Windows authentication. Uses user credentials stored in your local computer.
Select 'No authentication' and press OK.
Press OK and Visual Studio starts working. (Ready to work... Off I go then!) Et Voila! It is not only created, but also made run in Visual Studio's editor's embedded browser:
Did you notice there is a button in the toolbar that shows what is probably your favorite browser?
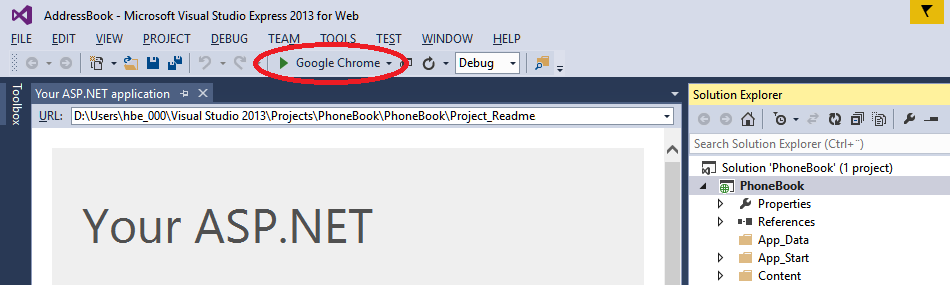
There is a little black arrow to the right of the browser name, and that is for selecting browser. As you might have guessed, it is there to let you test your web application in different browsers that you have installed on your development computer.
Go ahead, select a browser!
You can now press F5 to run your new program on your local machine. Don't worry about setting up IIS (the web server) or anything, Visual studio has its own:
Now maybe We should take a look at what Visual Studio has done for us so far. Let's start looking at the MVC project structure.