Windows desktop programs
A calculator »First of all, start a program that can create Windows desktop programs, a proffessional Visual Studio version or an express version that is targeted for Windows desktop. I use Microsoft Visual Studio Express 2013 for Windows Desktop. Note, that if you use Microsoft Visual Studio Express 2013 for Windows, you will not see the option to create a desktop program since that version is for Windows Tablet programs only.
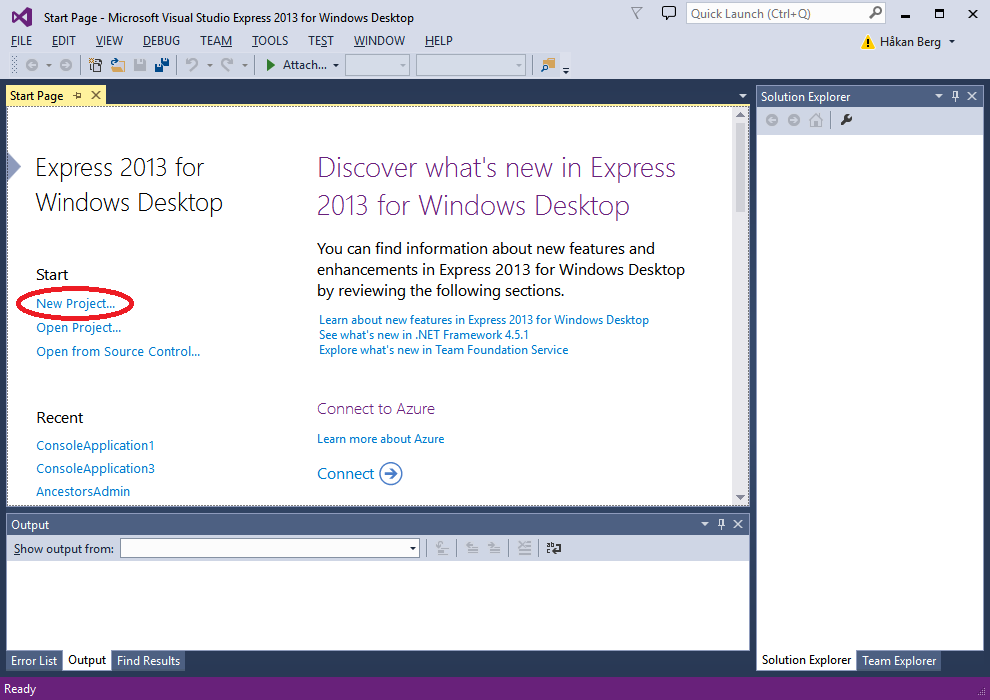
Start the program and create a new project:
Select Visual C# and Windows Forms Application. The sample program we will create will be a very simple one, so let's call it 'SimpleSample':

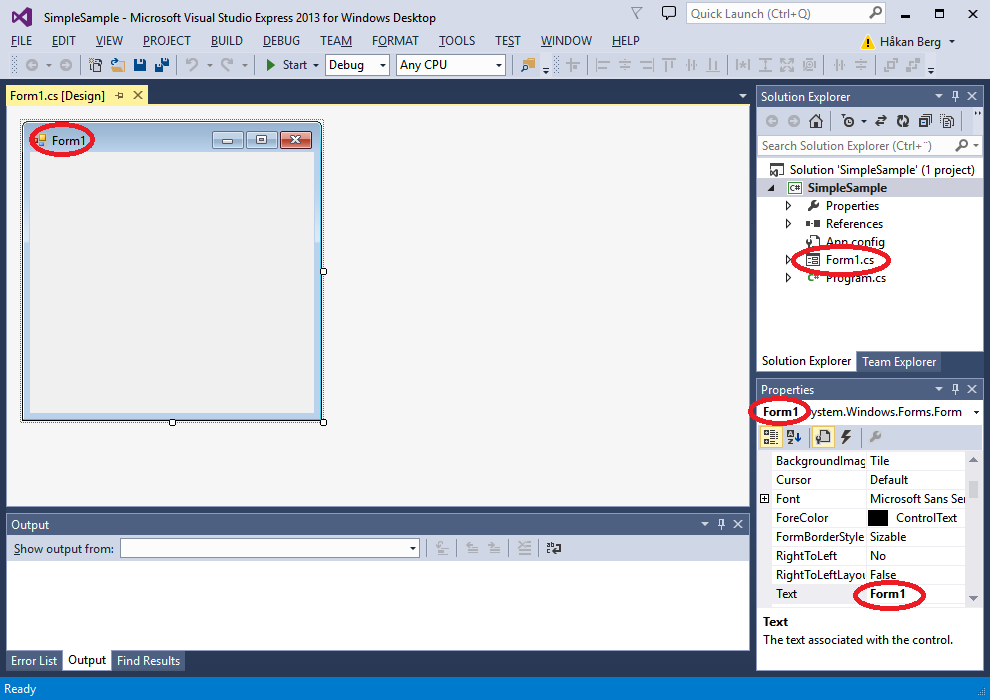
Click Ok and we now have a Windows form program with a form named 'Form1'. As you can see, the C# file is named Form1.cs and so is indicated in the form properties. The title text in the form is also 'Form1'. Had we opened the file Form1.cs would we also see that it contains a class for the form, and that class is also named 'Form1'.
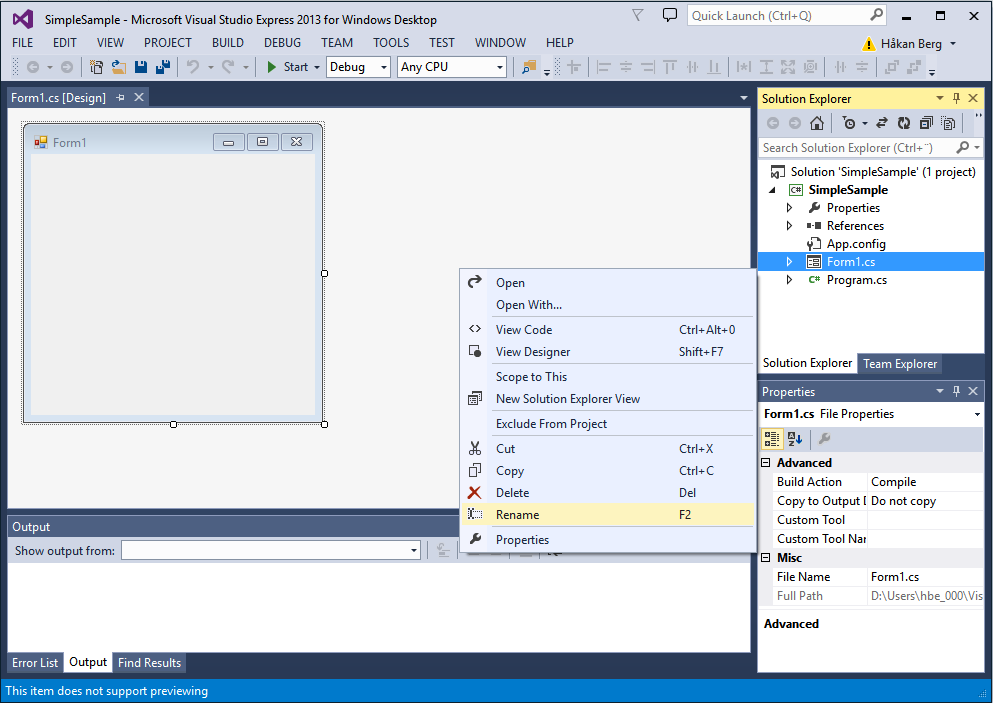
But let us remedy that at once. The longer we work with wrong name, the more to change later. Right-click the file Form1.cs and rename it 'SimpleSampleForm':
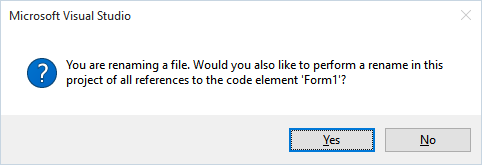
As you can see, we can get some help here. Let Visual Studio rename all references. That will take care of the class name too.
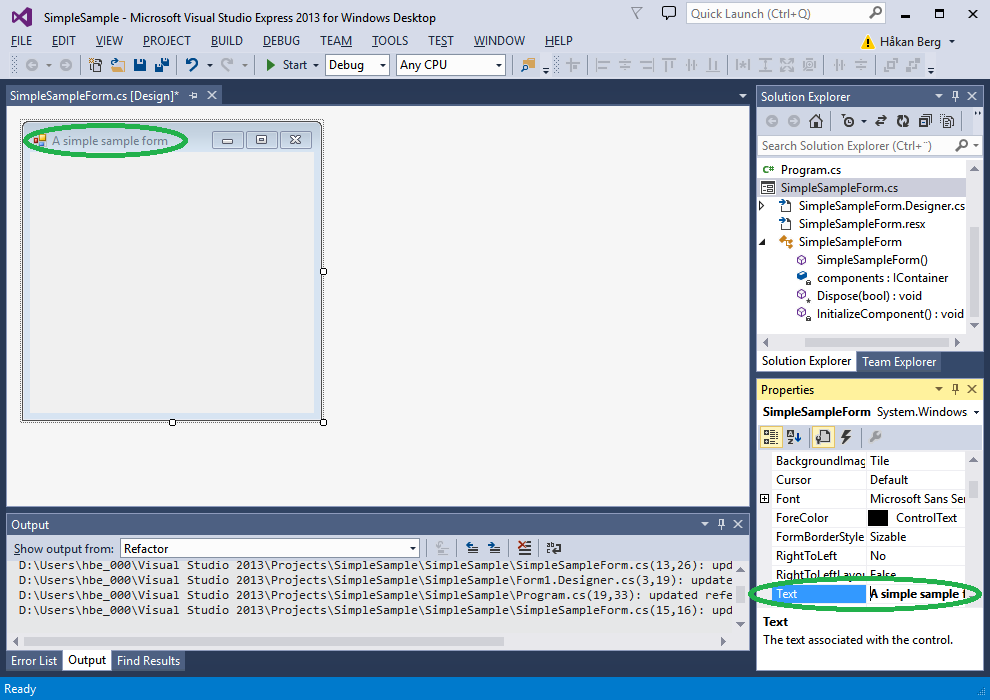
The filename is changed, the properties for the form (click the form to see its properties) is also renamed, but the form title is not:

The form title is seldom exactly the same as a filename or a class name, so it is handled by the property Text. Change it and see how the form title reflects your change:
Press F5 to compile and run the program in debug mode, or press Ctrl + F5 for a normal run. If you run in debug mode, you will have to stop the program in Visual Studio when you are done, before you can edit the program:
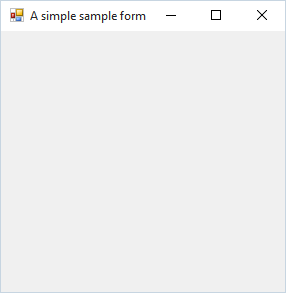
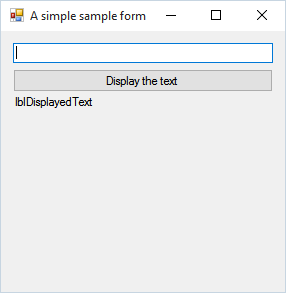
It looks a bit simple, but it runs:
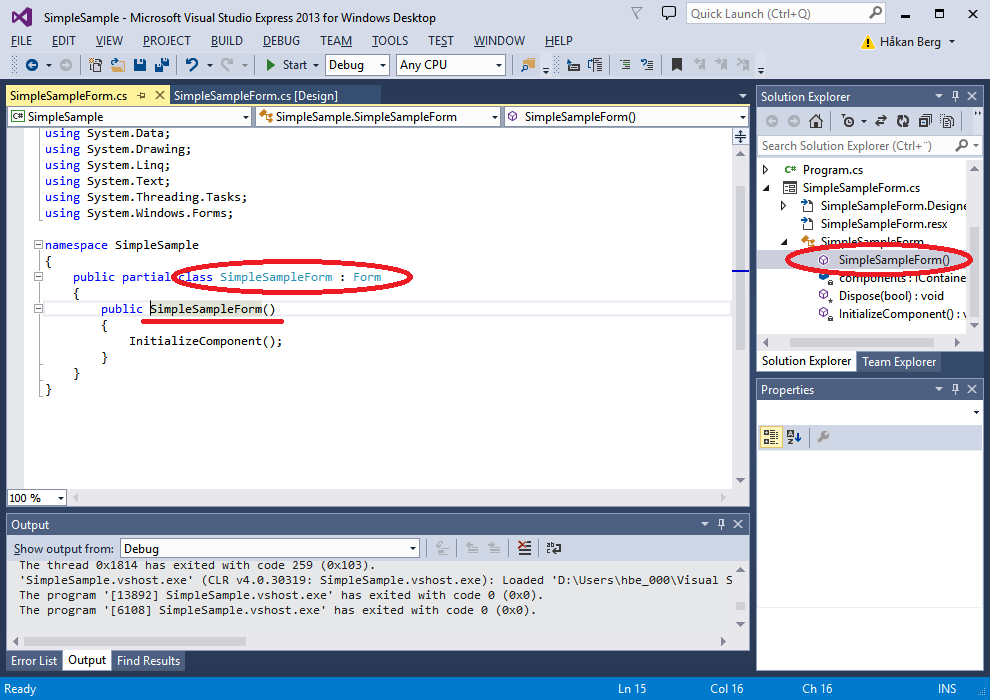
Now, look at the Solution Explorer. You can expand the SimpleSampleForm.cs node to see all stuff contained in it. Some things are inherited, but the constructor is present in the file.
If you click the SimpleSampleForm.cs node you will simply open the file and position the cursor at the top of the file. But if you expand the node and click e.g. the constructor node, the file will open, mark the constructor (the underlined method name) and position the cursor beside it. Also note that the class name and the constructor name both have the same name, naturally since that is enforced for classes, and that they are named SimpleSampleForm.
And the inherited stuff comes from what? Inheritance of course. The class is declared 'public partial class SimpleSampleForm : Form' wich means that it inherits from a class 'Form'. The 'partial' keyword allows us to extend the class in some other file by declaring the same class again. A pretty cool option.
It's time to feel the force of object orientation.
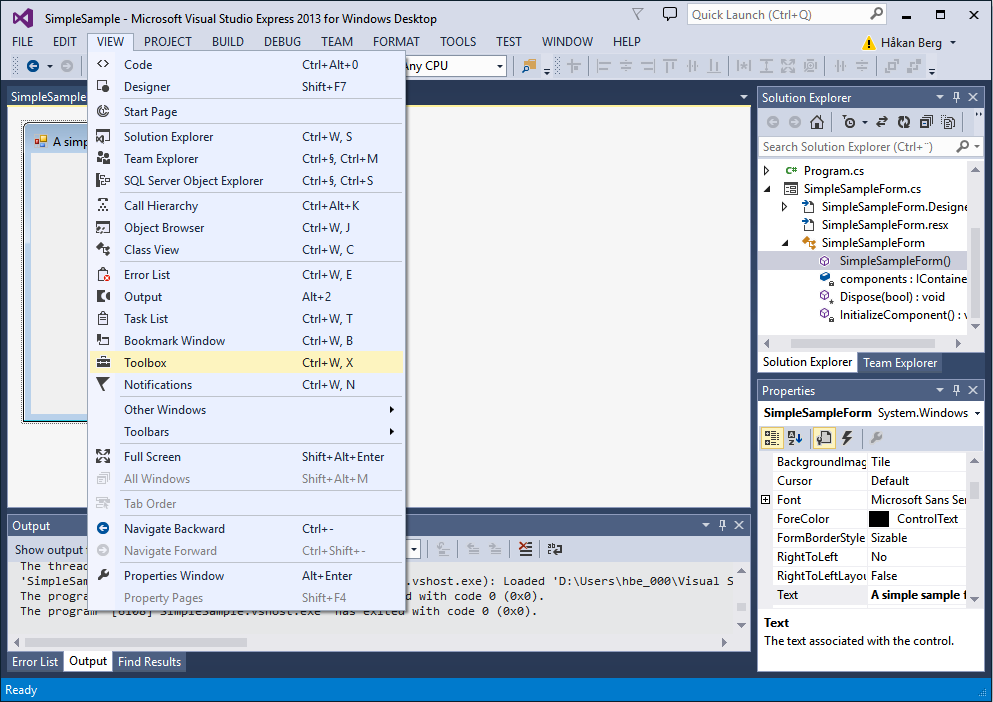
Open the Toolbox:
To add controls, simply drag them to the form, position them and size them. You will see alignment lines that helps you align them properly. You name controls by setting their 'Name' property.
- Add a TextBox and name it 'tbTextToDisplay'.
- Add a Button and name it 'btnDisplayText'.
- Add a Label and name it 'lblDisplayedText'. Aslo set its 'Text' property to 'lblDisplayedText'.
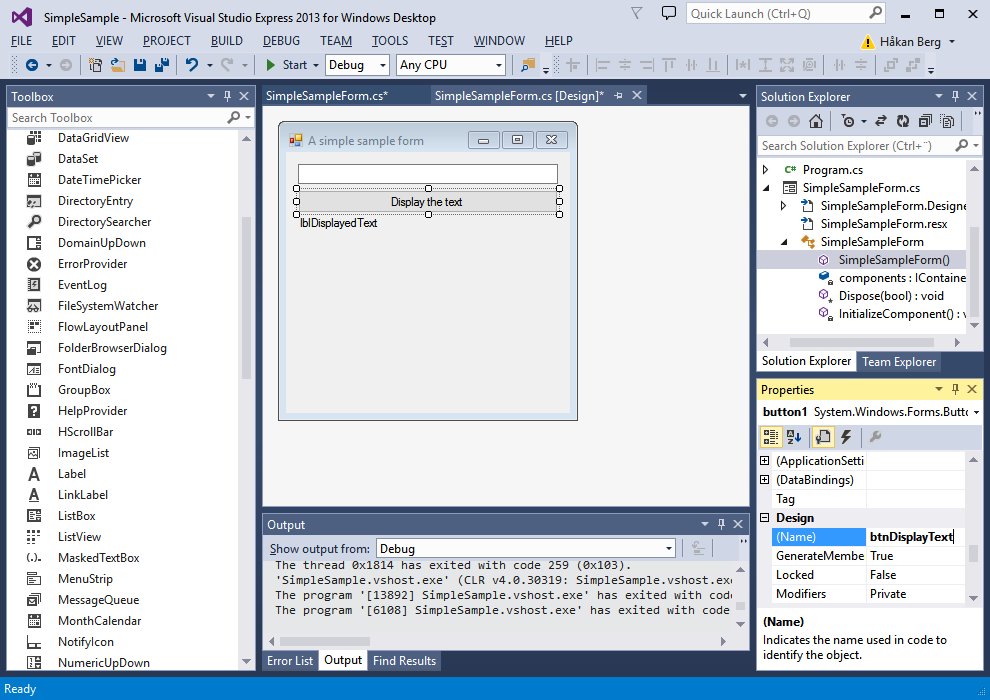
Double-click the button. The file SimpleSampleForm.cs opens, and a new function called btnDisplayText_Click() is created. You can also see the new function in the Solution Explorer. The cursor is positioned where you are supposed to start typing:
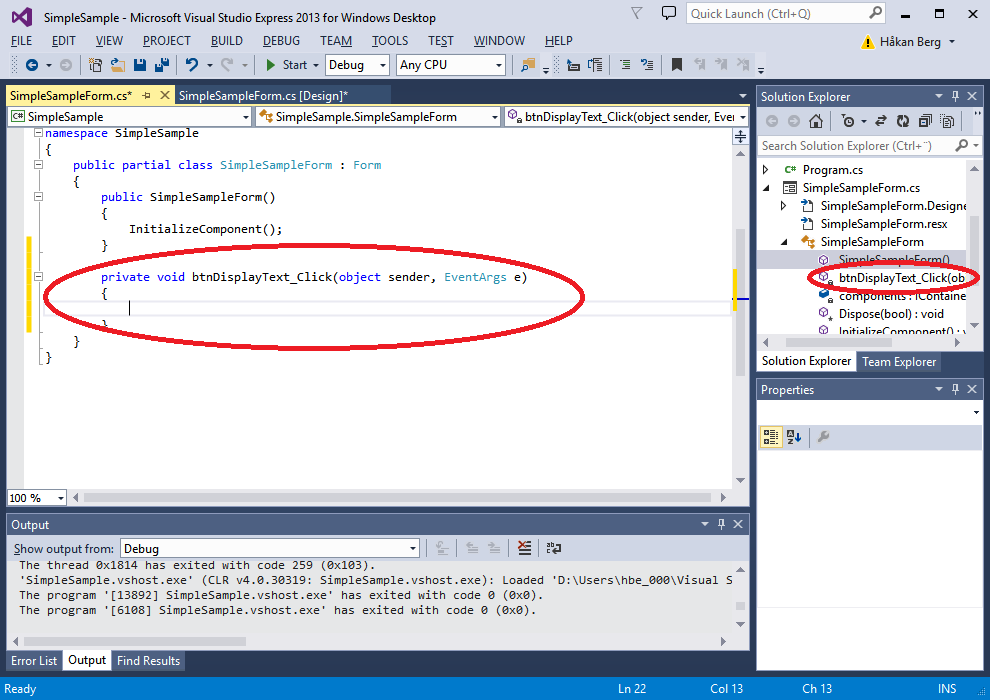
Start by typing an 'l' as to start typing the name for the label. Note that the Intellisense kicks in and suggests whatever fits in with what we type. When the correct object is highligted, simply press Enter to finish the word. You can use the up/down arrow keys to make your selection:
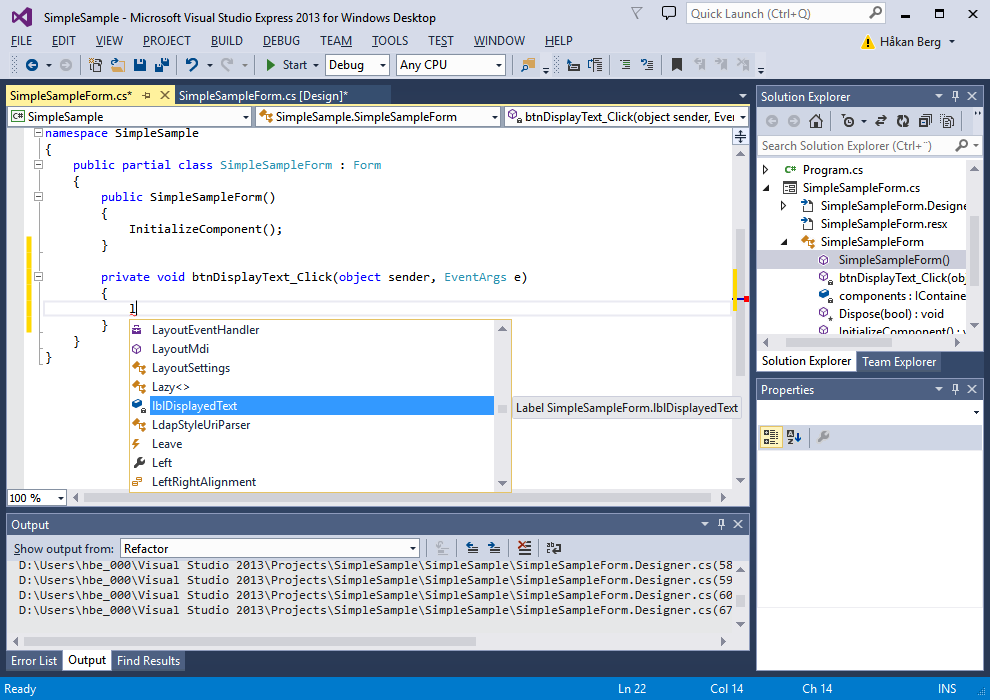
Add a period and start typing 'Text'. The Intellisense will help you all the way.
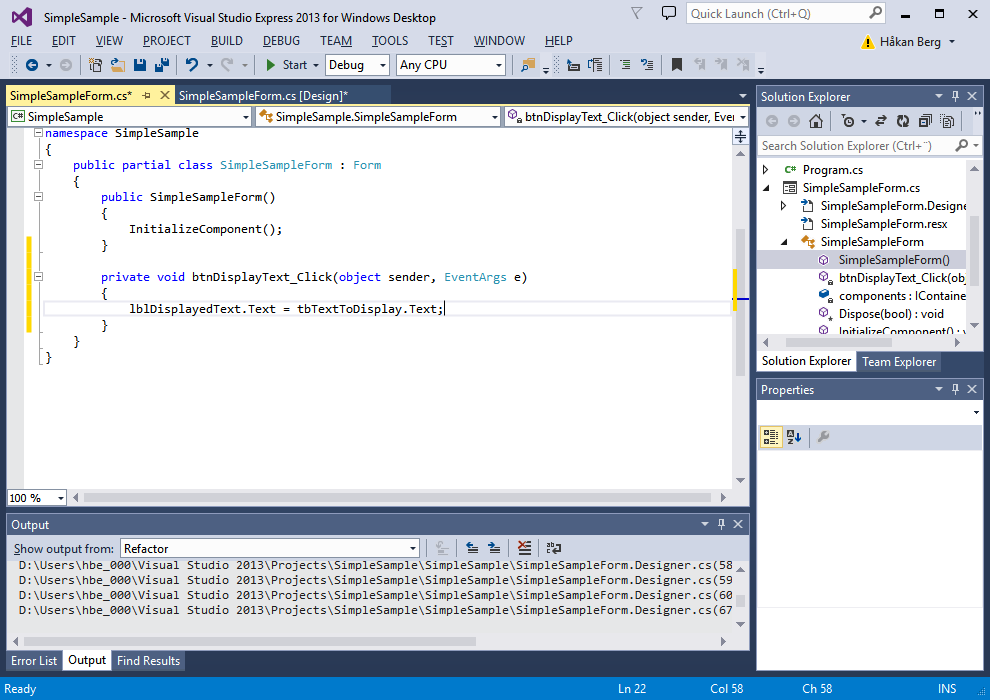
Type an instruction that will copy the text from the textbox to the label:
Press F5 or Ctrl + F5 to run the program again:
Enter something in the textbox and click the button:
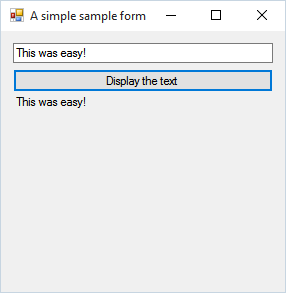
It work! That was really simple, don't you think?
Time for something more useful. Let us create a calculator.