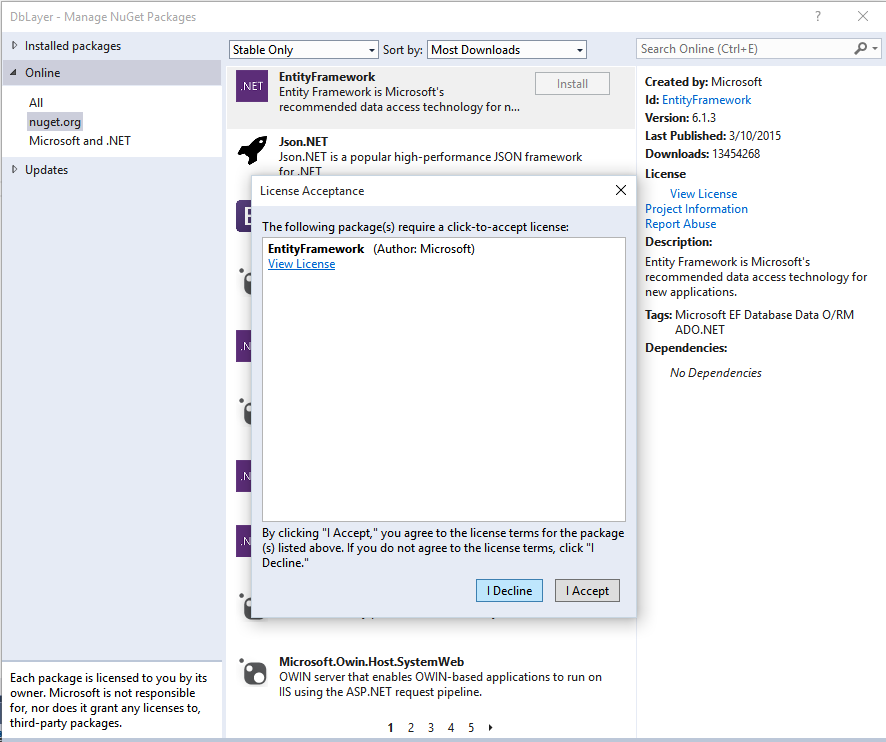
For the moment, we are only interested in the 'EntityFramework' package, so we click 'Install' and accept the license:
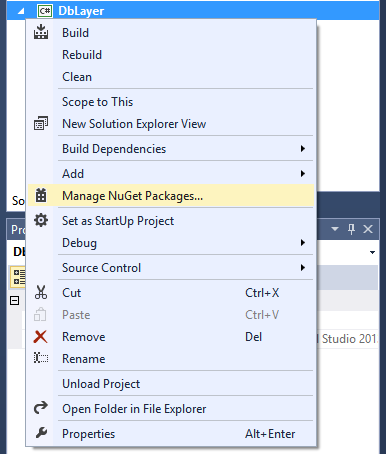
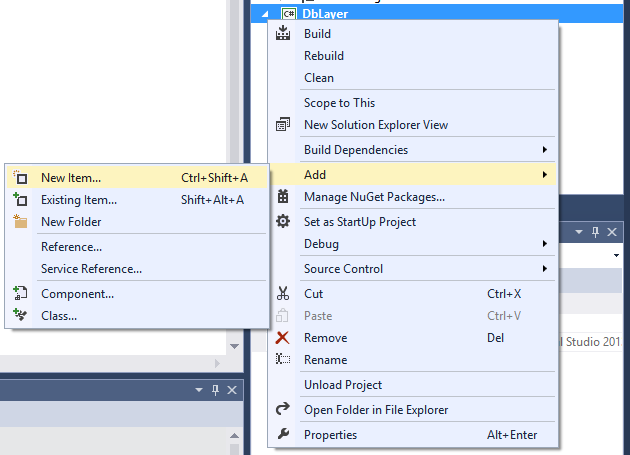
The magic here is that we now have more selections when we right-click our DbLayer project and select 'Add' and 'New Item...':
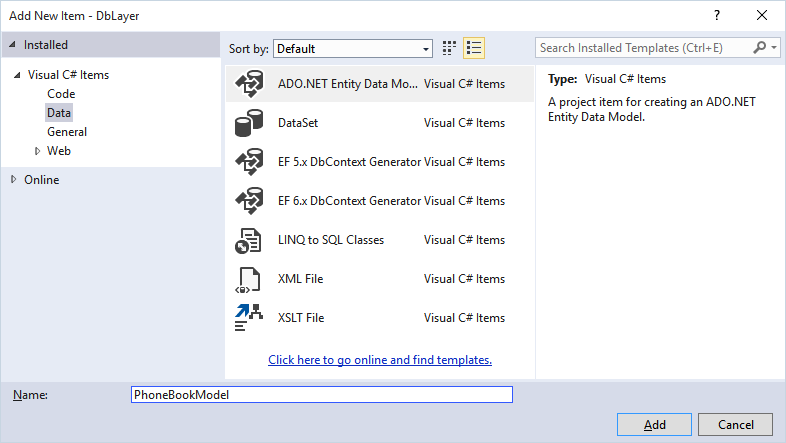
There is a section 'Data' with some interesting things. We are going to use an 'ADO.NET Entity Data Model. Yes, here is where we use Models. Normally this is where the database tables and views and under Models in the PhoneBook project, we might place other models, possibly combinations or extension to the models in the DbLayer project. (We have created one database view in the chapter 'Ms SQL Server', 'View_Persons_and_Phones', remember?)
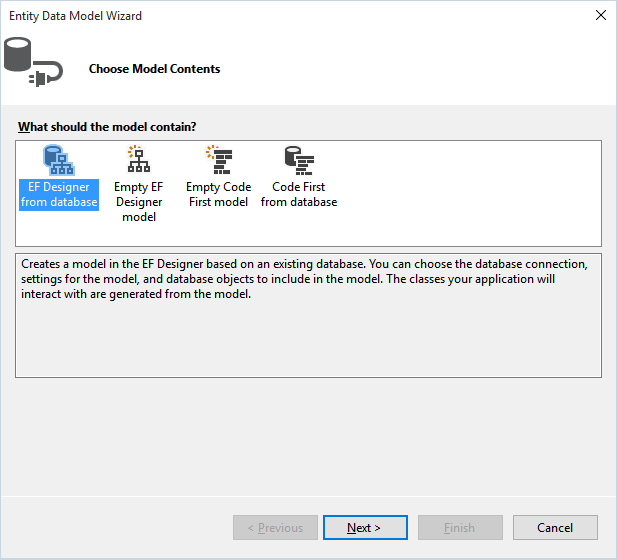
There are different ways to work with entity framework. The two main ways are the code-first and the database-first methods. Here we have already created a database, so the database-first method is the way we will work. However, many programmers prefere the code-first method, but we will not cover that here.
So, select 'EF Designer from database' and click 'Next':
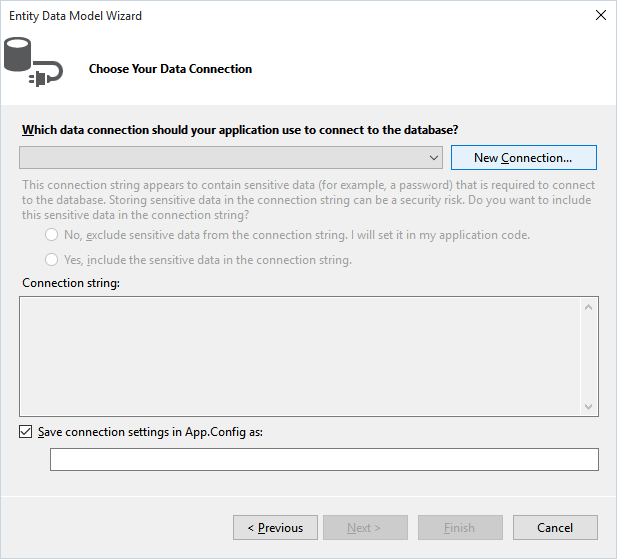
Now we will tell entity framework what database to use. Click the button 'New Connection' in order to connect to our database:
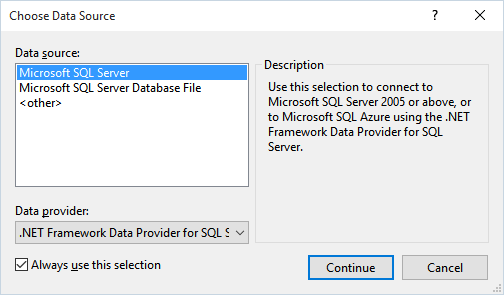
There are a few options, and since we have a MS SQL Server database, se select that. The data provider should be '.NET Framework Data Provider for SQL Server'. Click 'Continue':
The 'Connect Properties' dialog pops up. Data source is set to 'Microsoft SQL Server (SqlClient)' and should remain so. The 'Server name' field is where you type the name of your SQL Server as you created it in the lesson 'Ms SQL Server'. You might have named it different from my example, but it should be the same you use when you connect to the SQL Server via the SQL Server Management tool. You should test the connection by clicking 'Test Connection'. This must succeed before you can continue, so make sure you have spelled the server name correctly. Also, you may check the service. Open the control panel, go to computer management and select Services. Scroll down to SQL Server (<server name here>) and verify that it is running. Here you can also verify the server name, but remember to prefix it with the computer name in the Connection Properties dialog.
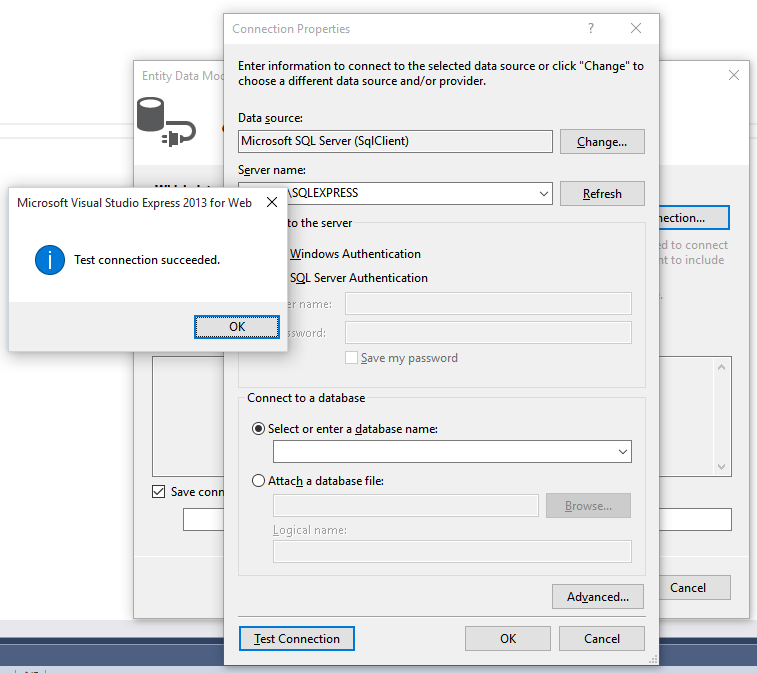
Now, select the database 'PhoneBook' under 'Select or enter a database name', which should be the active choice under 'Connect to a database'.
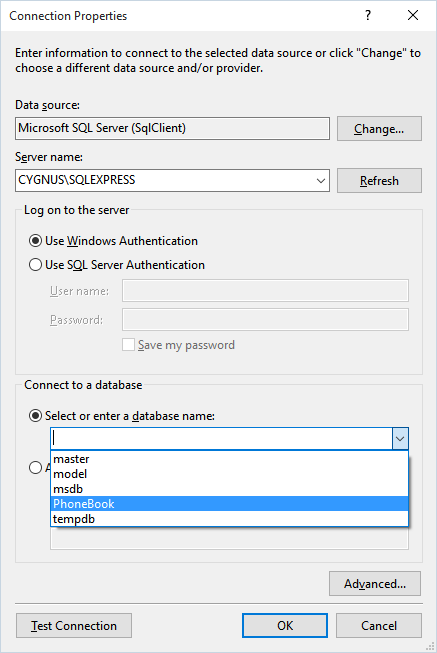
Then click 'Ok' and we are back at the 'Connection Properties' dialog, now with all we need filled out.
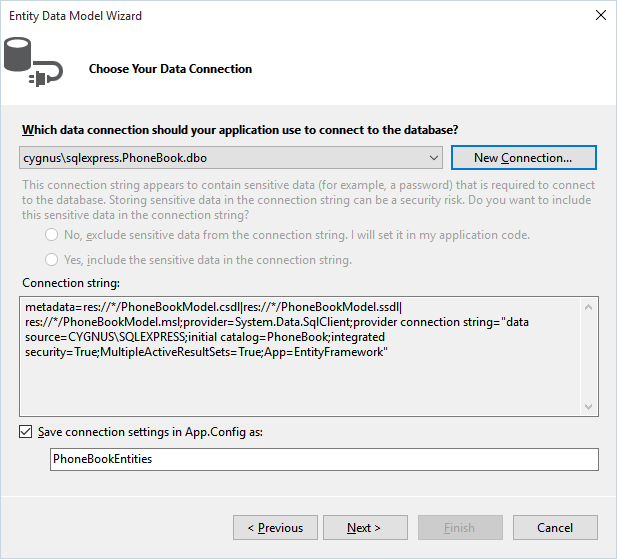
Note that we will get a connection string for free. It is used by the program to find the database, and it will be saved in the App.Config file. Now, remember this. It will be important later.
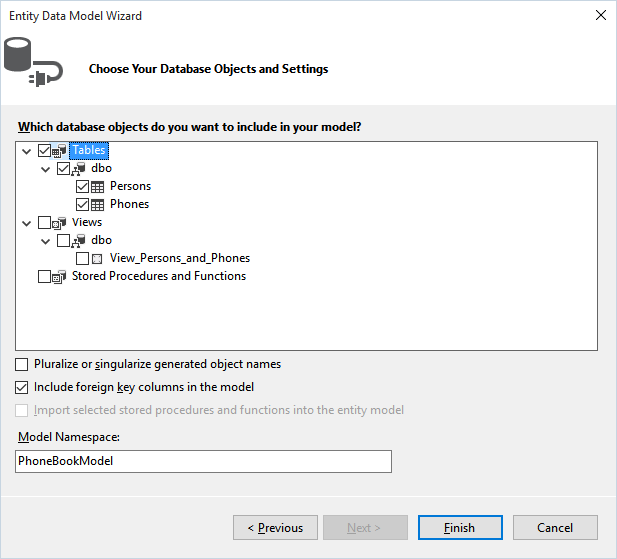
You can see your database and table if you expand the 'Tables' node and subnodes. You may also expand the Views node and subnode to find our view 'View_Persons_and_Phones'. There are no stored procedures, so that node cannot be expanded. Check the Tables and subnodes checkboxes in order to include our tables in the framework. I will wait with the view, but you can do as you like. I am personally not fond of pluralization, so I remove that checkmark.
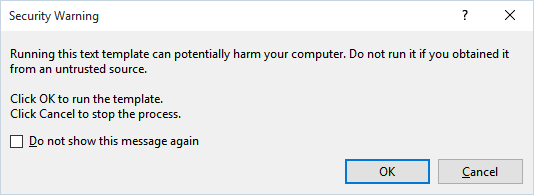
Now, when compiling, or just saving, the new model, you will get a warning. In fact you will get the warning twice. It is there in case you implement a database someone else has created, and that might contain harminous code. You can check the box 'Do not show this message again' if you like. I personally keep it unchecked, because then I know my changes really 'takes' when I see the warning. This is useful in case something does not work as intended.
When you have saved the model and compiled the DbLayer project, you can see a graphic representation of your tables when opening the file PhoneBookModel.edmx.diagram. You will use this each time you make some changes to the database. We will see that later when we add the view.
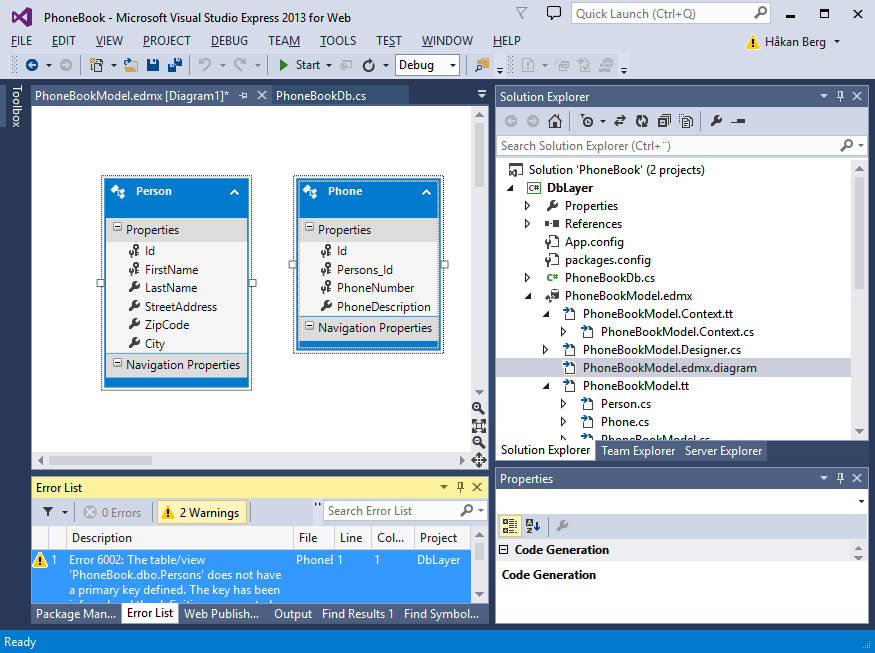
As you can see in the bottom left listing, under the 'Error List' tab, we have two warnings. They are pretty self-explaining, and we will fix that the next time we make changes to the database. An 'Index' is a database thing that helps the database engine search quicker. There is a simple way to tell the database to add it, and we will do that later.
Our first version of the database layer is now finished, and it is time to see how we can use this in our PhoneBook project, so let us go to the next chapter.