The models are supposed to represent data as it is used in the application. That could be different from how the data is stored, but in our case it will not. It is sufficient in this case to use the database descriptions rather than files under the Models folder, and also simpler since we will not have to update our models when we alter the database. In the next chapter, we will see how EntityFramework does that for us.
The database will add to code complexity, so it is a good practice to put it in some separate files. We will actually put it in a separate project. Remember that we have a solution, the 'PhoneBook' solution. The idea of having a solution is that it can hold more than one project, projects that somewhat belong together.
When you read through this chapter, and the two upcoming, you migth want to actually carry out all steps as you read, or, if you prefer, read first and do it afterwords. Do it the way that suites you best. We will use this as I describe below, and build more upon it right after, so if you want to try doing this, you will need to go through the following steps, while reading or later.
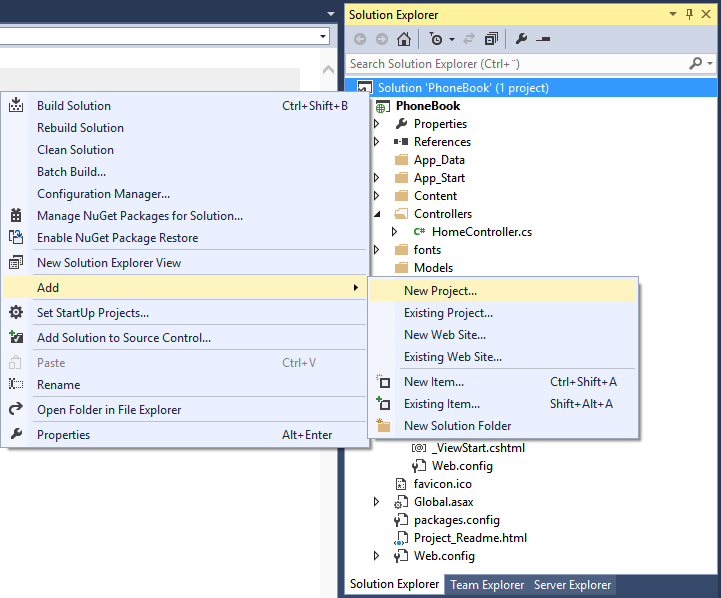
So, we will add a new project to the solution, and call it 'DbLayer'. Start by right-clicking the solution in the solution explorer and select 'Add' and 'New Project...':
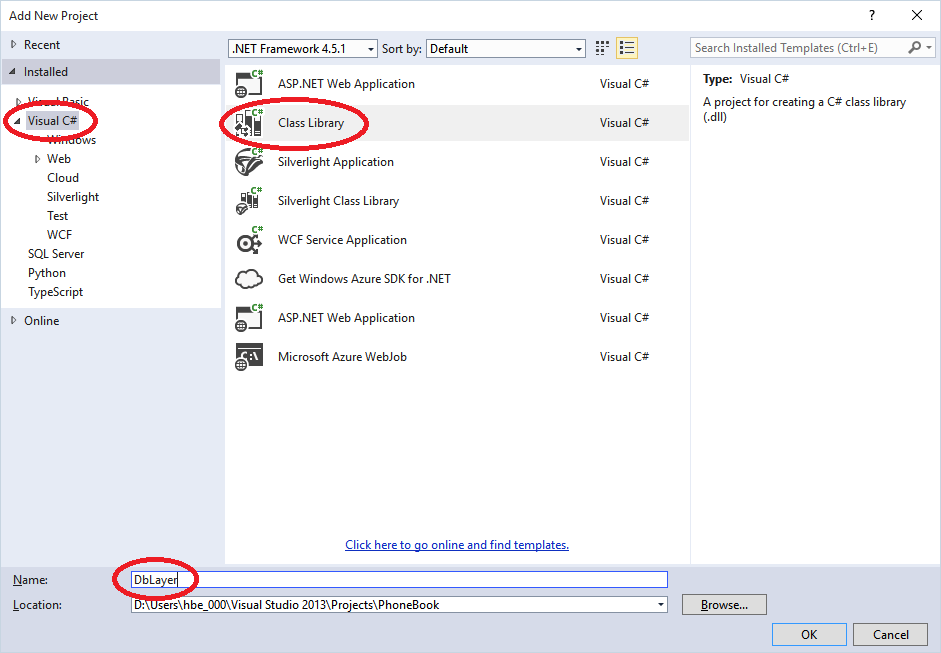
We will not use any user interface or such. It is sufficient to have some place to put the code. In fact, a common place to put code like this is in a 'Dynamically Linked Library', a so called .dll file. This is done by selecting a 'Class Library' project. Name it 'DbLayer':
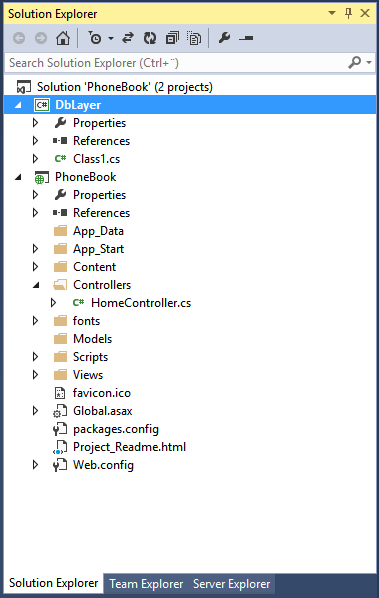
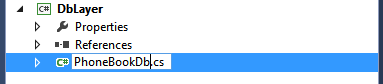
When you click 'Ok' you get a new project in the Solution explorer. It is not much, just some settings and a place to put your code in. Actually, the code file has a generic name, Class1.cs, which does not say much:
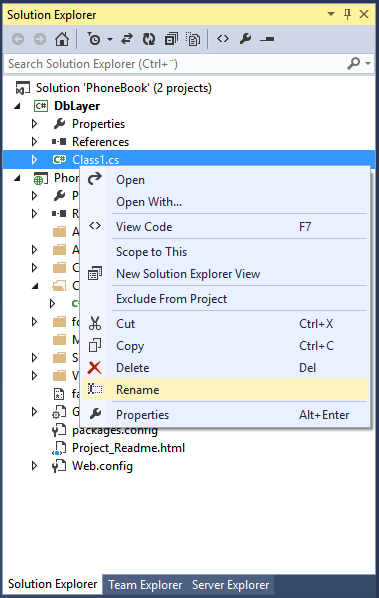
Now, you can either rename that file or delete it and create a new one. Note that the class name in the file also is generic, 'Class1'. Let us try the rename way and see what happens:
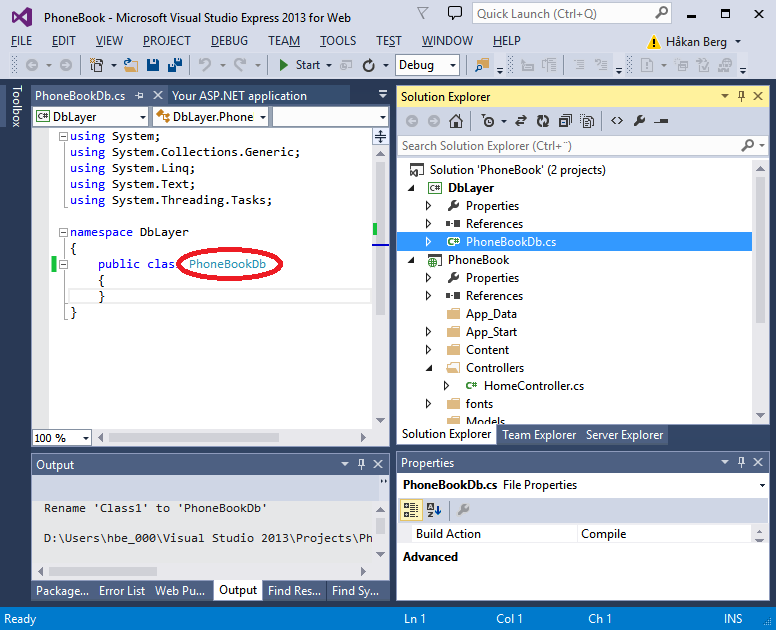
Rename it and give it the name 'PhoneBookDb':
Visual studio draws the conclution that the class name probably also should be changed:
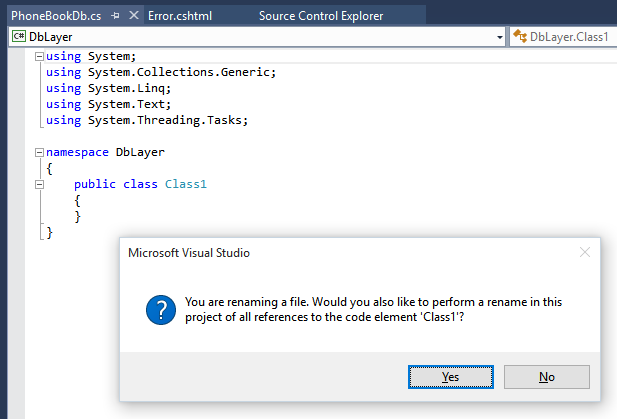
And if we allow that by clicking 'Yes' we do get a new class name 'PhoneBookDb':
If you prefer to delete and create a new class file, that is also not too hard:
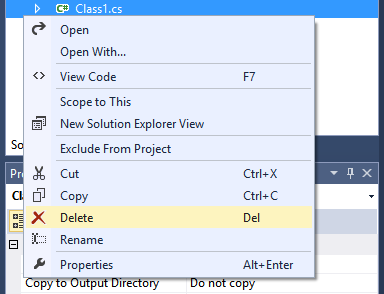
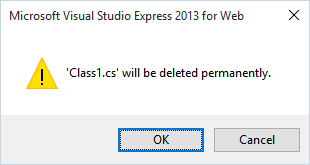
Deleting was easy:
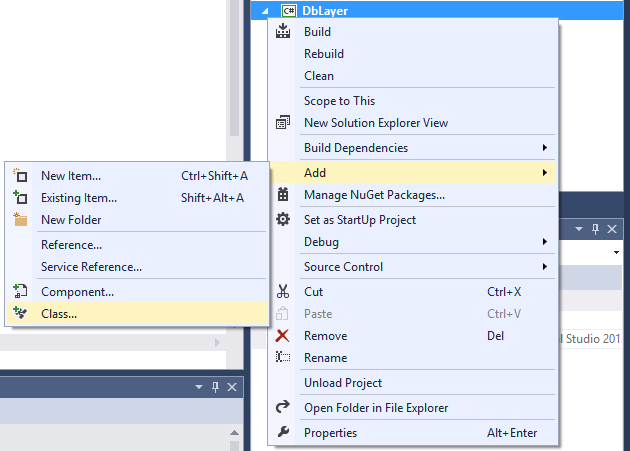
And creating a new class file is also easy. You can either select 'Add' and 'New Item' and in the following dialog select to create a class file, or use 'Add' and 'Class...' to have 'Class file' pre-selected:
So, whether you use the first method, or the second and manually selected 'Class', this is how it should look:
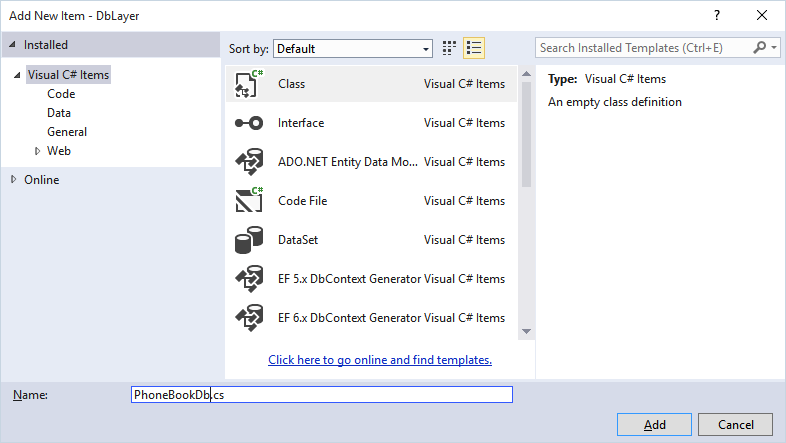
Name the class file 'PhoneBookDb.cs' and press 'Add'.
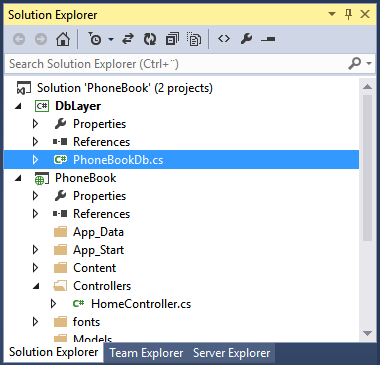
Your Solution explorer should now look something like this:
And now it is time to put it to use. We will use entity framework for that in the next chapter.